Getting Started
The screenshots used in this documentation are mostly taken from a Visual Studio installation. Where differences are substantial we will provide separate screenshots for other IDEs.
Login / Sign Up
After you install Priset and open the tool inside your IDE, the first thing you will see is the tool's login screen (see below). To sign in or sign up click on the big button in the middle.
- Light
- Dark
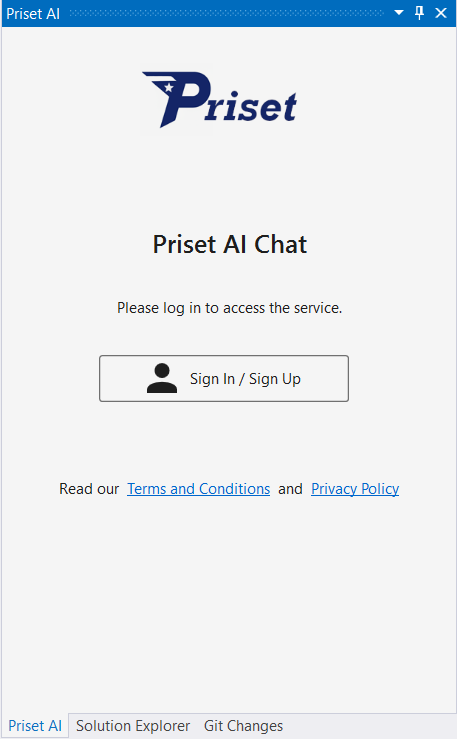
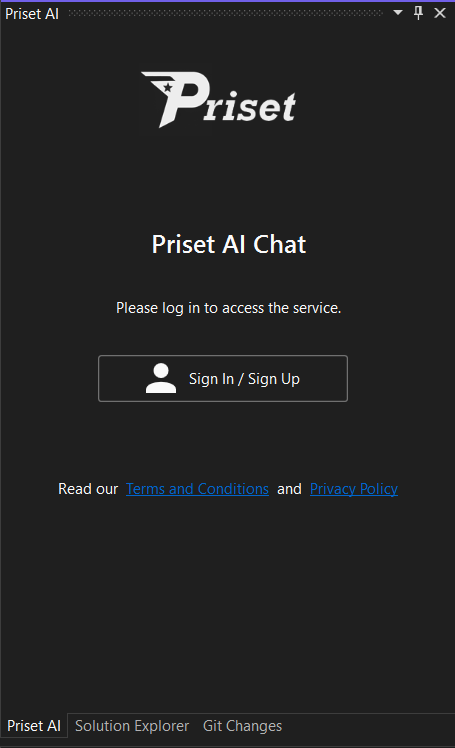
We like to keep the Priset chat window docked together with the Solution Explorer and Git Changes windows, as we would refer to those two windows frequently while working with Priset.
When logging in into VS Code extension, your web browser will prompt you to allow the website to Open VS Code. You need to allow this to happen in order to log in.
This will open the Priset website login / sign up window as shown below.
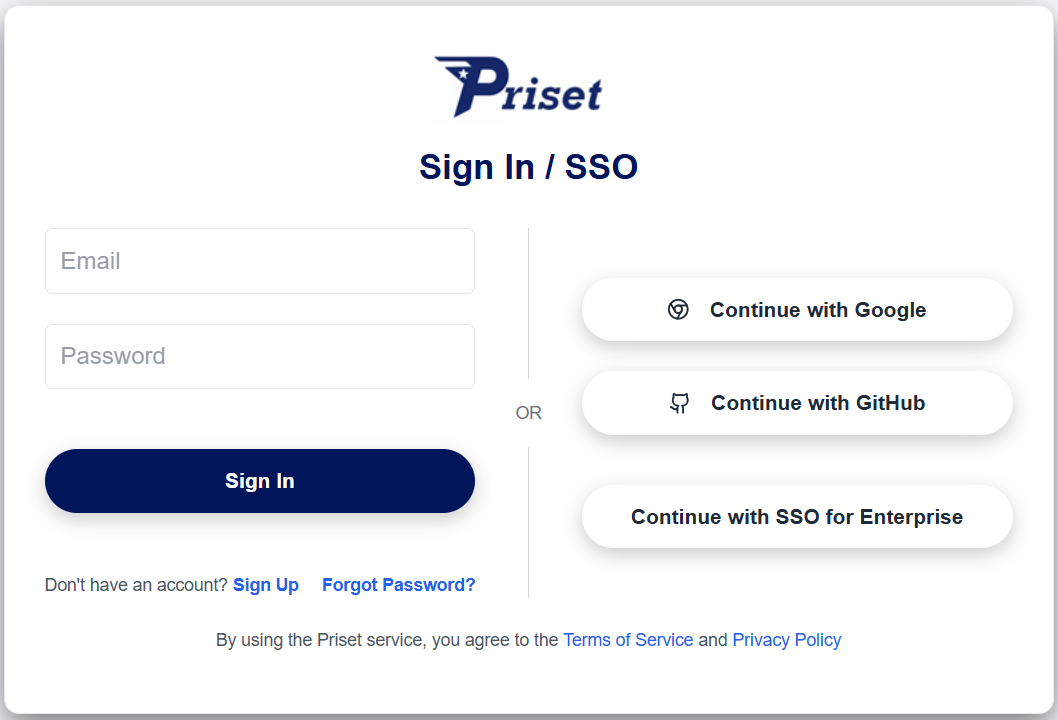
To log in, simply enter your credentials in the designated fields. If you don't have an account yet, you can easily create one by signing up (see below for the instructions). Should you ever forget your password, you can reset it by clicking on the Forgot your password? link.
To sign up for a new account, you can either click on the social buttons (i.e. Continue with Google or Continue with GitHub) or you can click on the Sign up link on the login screen. Clicking on the link will open the sign-up form, as shown below:
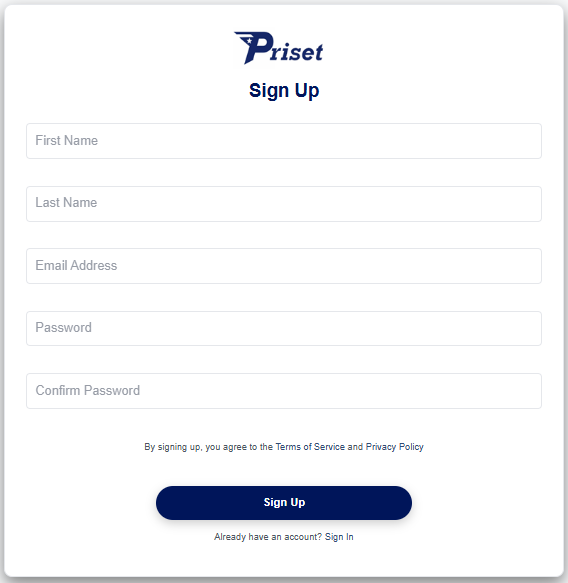
Fill in the required information, including your name, email address, and a secure password. Once you've completed the form, click the Sign up button to create your account. By signing up, you agree to our Terms of Service and Privacy Policy. After successfully signing up, you will be automatically logged in.
The same screens and process are used to login to the Priset Admin Console. More information on how to open the Admin Console can be found here.
The Chat Window
Upon successful login, the Priset tool chat window will show up (shown below).
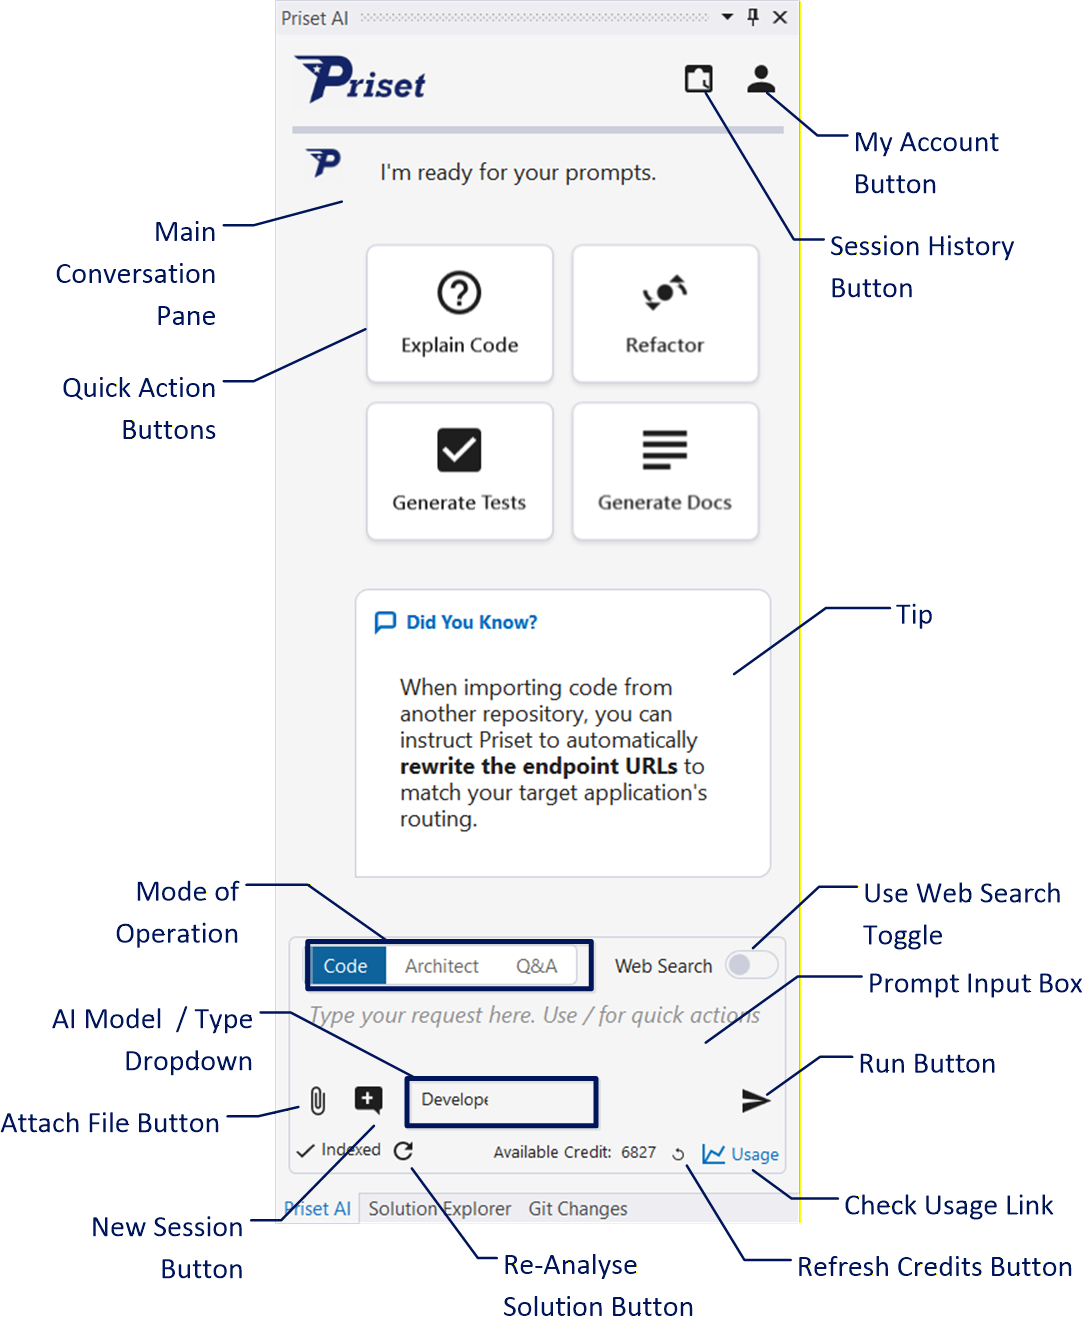
This is your primary command center for interacting with the Priset AI. It's a powerful, context-aware interface designed to feel like a conversation with a senior engineering partner. The rest of this page will walk you through each component of the window.
1. Main Conversation Pane
The large, central area of the window is the Main Conversation Pane. This is where your interaction with Priset unfolds. It will display:
- Your Prompts: The instructions you send to the AI.
- Priset's Responses: The AI's plain-text explanations, plans, and indications that user input is required (in such a case a dialog box will pop up asking you to provide additional input).
2. Operation Mode Tabs
At the bottom of the Main Conversation Pane, you will find three tabs that define Priset's current mode of operation:
- Code: This is the standard interactive mode. Type your prompt in the Prompt Input Box and click Run to have Priset execute the task (e.g., "Create a new controller" or "Refactor this method").
- Architect: Use this mode when you need high-level guidance or multiple implementation strategies. Priset will analyze your codebase and suggest various options to solve a problem. You can then choose the best option and instruct Priset to execute it.
- Q&A: This mode is dedicated to information retrieval. Ask questions about how your code works, where specific logic is located, or for explanations of complex patterns without triggering code changes.
3. Prompt Input Box
Located at the bottom of the window, this is where you write your instructions for Priset. The key to getting powerful results is to write clear, specific, and detailed prompts.
For complex tasks, structure your prompt with numbered steps or clear acceptance criteria, just as you would in a project management ticket. Even better, use the Architect Mode to get high-level guidance and check what are the possible implementation strategies.
4. Quick Action Buttons & Tip
These buttons provide one-click access to common AI tasks. They are context-aware and adapt their scope based on your current activity in the IDE:
- Scope:
- If no file is open, the action applies to the entire solution.
- If a file is open, the action applies to the current file.
- If text is selected, the action applies only to the selected code.
The four quick actions are:
- Explain Code: Get a detailed breakdown of what the code does.
- Refactor: Improve code structure, readability, or performance without changing behavior.
- Generate Tests: Automatically create unit tests for the selected logic.
- Generate Docs: Produce comprehensive documentation or comments for the code.
The tip shows an interesting fact about Priset and can sometimes contain a link to the documentation and/or blog pages.
- Prompt Shortcut: Type
/in the Prompt Input Box to bring up a popup menu with these four options. - Right-Click Menu: You can also access these actions by right-clicking inside the code editor and selecting the Priset AI menu.
5. Action Buttons
This is the main control cluster for managing your session and running tasks.
AI Model / Type Dropdown
Location: Bottom middle.
Default: Developer
Function: This dropdown allows you to tailor the AI's behavior for specific tasks. While "Developer" mode is the all-purpose default for generating and modifying code, you can also choose "Junior Developer" to reduce your cost, or "Expert Developer" for tasks where you need a more powerful AI. Other modes to specialize the AI's focus may be available depending on your subscription (e.g., "Code Reviewer," "Security Analyst" etc.).
Available Credit (Legacy Plans Only)
Location: Bottom right.
Function: For users on legacy subscription plans, this displays your current balance of available Priset credits. Tasks consume credits based on their complexity (e.g., generating a small function uses fewer credits than scaffolding an entire microservice).
Note for BYOK Users: If you are on our current Bring Your Own Key (BYOK) plans, this indicator will not be visible. Because Priset now acts as a pure orchestration harness, you do not consume Priset credits. Instead, token usage is billed directly by your chosen AI engine provider (Anthropic Claude, Google Gemini, or OpenAI ChatGPT) via your connected API key.
Web Search Toggle (Real-Time Grounding)
Location: Above the Prompt Input Box.
Function: When activated, this enables web grounding for your current session. Instead of forcing the AI to rely solely on stale training data, Priset allows your chosen AI engine to actively search the web for real-time information before responding to your request.
When To Use: This is your defense against model hallucinations. Use this toggle when you need the AI to reference the absolute latest API documentation, research recent framework updates, or debug novel error codes that don't exist in the model's baseline knowledge.
Token Usage Note: Because web grounding works by pulling live search results and feeding them into the model's context window, keeping this toggle enabled will consume additional tokens. These tokens are processed and billed directly through your connected BYOK provider (Claude, Gemini, or ChatGPT).
 Run Button
Location: Bottom right.
Function: After writing your prompt in the input box, click this button to send your instruction to Priset for processing (upon clicking the button image will change to the red Stop icon). Click on the button again to stop the processing .
 New Session Button
Location: Bottom left.
Function: Click this button to start a fresh conversation with Priset. This is crucial when you are switching to a completely new, unrelated task. Starting a new session clears the previous context, ensuring the AI focuses only on the current problem without being influenced by past instructions.
 Attach File Button
Location: Bottom left.
Function: Click this button to attach a file you want Priset to examine. You can attach code files, images (e.g. annotated screenshots), Word or PDF documents (e.g. multi-page design files produced by an external screen design and/or specification system).
 Re-Analyze Solution Button
Location: Bottom left.
Function: Click this button to manually re-analyze the solution and refresh your local cache/model. While the solution is re-analyzed automatically when something changes, you can use this button to manually trigger this process.
 Refresh Credits Button
Location: Bottom right.
Function: Click this button to manually update your "Available Credit" display. While it usually updates automatically, you can use this button to poll for the latest balance after a purchase or credit reward.
 My Account Button
Location: Top right.
Function: This button opens a dropdown menu for managing your account and accessing important information.
The menu contains the following options:
- Welcome
usernameGreetings to the specific user. - About Priset: Displays information about Priset.
- Manage Priset Subscription: This will open the Priset Admin Console in your web browser, where you can manage your plan, view billing history, and update payment details.
- Logout: Signs you out of your Priset account within the IDE.
 Manage Sessions Button
Location: Top right.
Function: Click here to see past sessions and manage them. You can delete past sessions or select them in order to make them load into the main chat window effectively making them the current session.
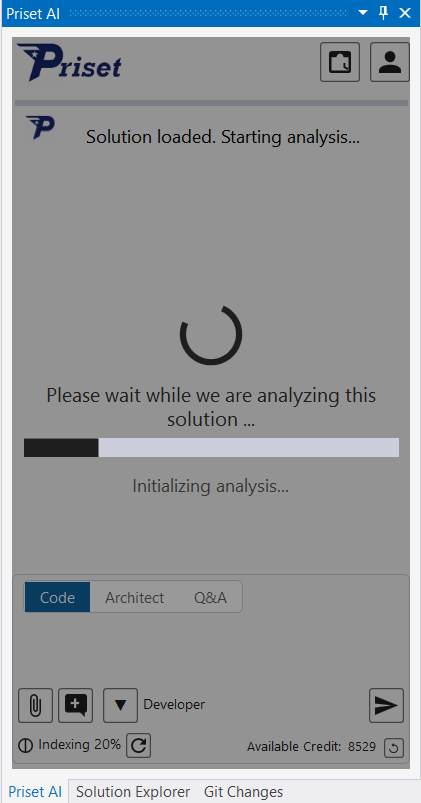
On Startup
When starting up Priset will analyze the current solution. As this may take some time it will display the progress bar and some additional information. Basically, Priset will analyze all files in the folder your solution is located in (and its subfolders) but will skip the files/folders listed inside the .gitignore file.
The analysis file is saved inside the following folders:
Mac: /Users/username/Library/Preferences/PrisetAI/IndexCache
Windows: \Users\username\AppData\Roaming\PrisetAI\IndexCache
When your solution is analyzed for the first time, you will see a small popup asking you if you want to set up a Project Persona. Accept the dialog if you want to set up specific solution-wide guardrails and instructions, or dismiss it if that's not required.